Multiplayer 6. A replacement UI

Everyone has different tastes when it comes to design. Some people like the flat, material design that's been with us for the past few years, and some people are wrong.
The person who designed the NetworkManagerHUD was definitely in the "wrong" category. It looks like a 90s Mac and early 2000s Web design vomited up a lovechild (which is the normal way a lovechild is created).
I remember those early Web days, when no matter what the client asked for, what they got had massive curved corners and gradients everywhere (in either a gif - which is a format known for producing the world's worst gradients, or a low-res jpg - which looked like the gradient was going bald in weird, blocky segments. Nothing else would work due to the Internet being slower than a narcoleptic postman).
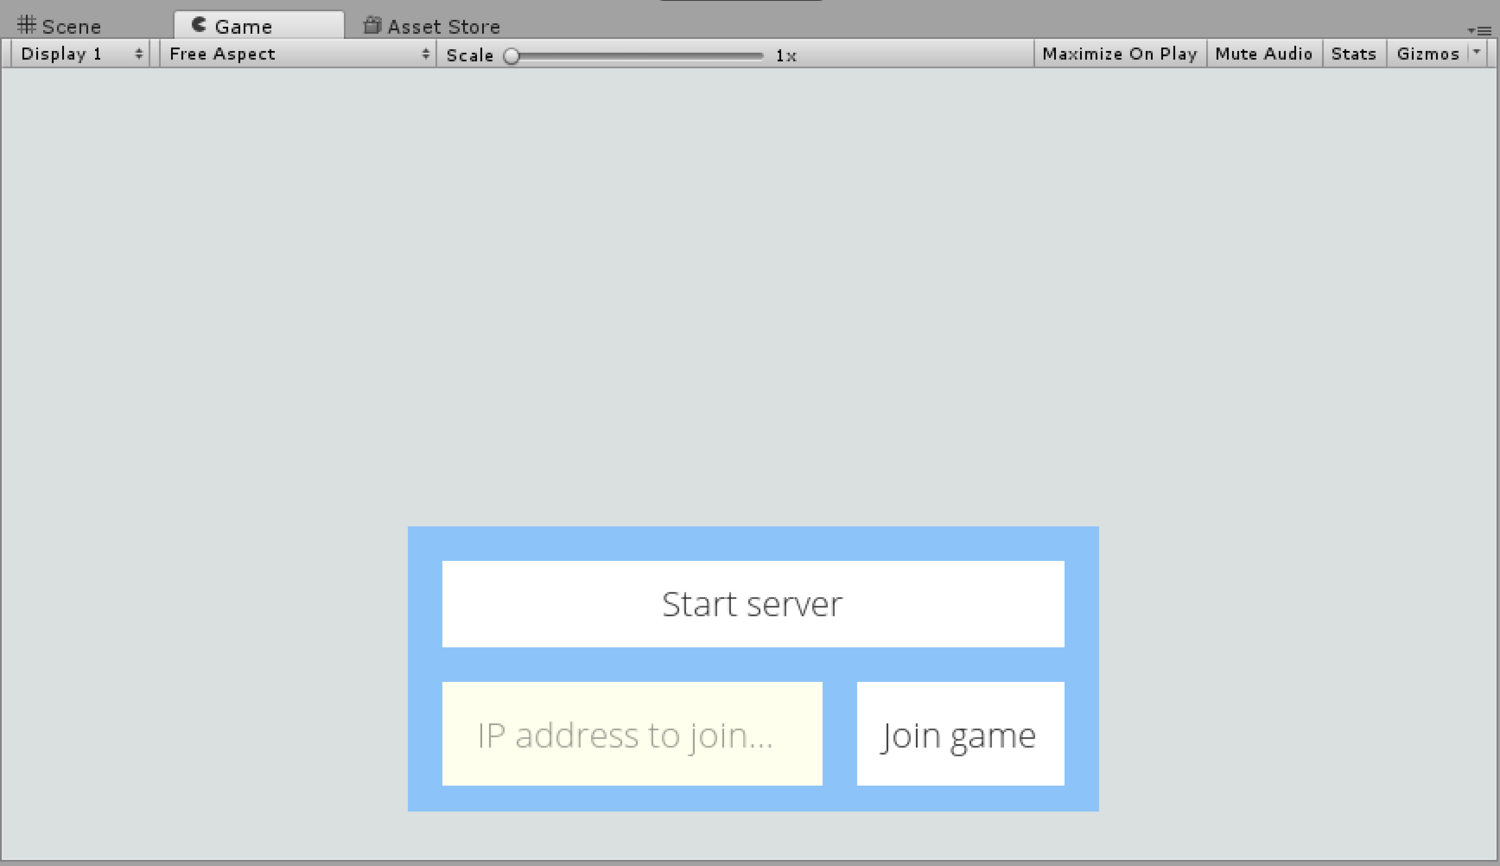
This blog post is going to finally do away with that abomination so you can replace it with whatever you so desire. Building on the previous blog posts, a lot of our work has already been done so this post will focus on creating the UI itself and the code behind it.
As mentioned before, this entire series is about creating a local-network multiplayer. Unity has a nice system for handling proper online multiplayer, but I'm skipping that for the moment as it's just another thing to cover and it'll be easier to go back later and add, in a future blog post.
When there, I may also cover local computer play, with multiple people on a single screen. That's actually a lot easier to do then any form of online multiplayer but we'll worry about that later.
Bye bye, NetworkManagerHUD
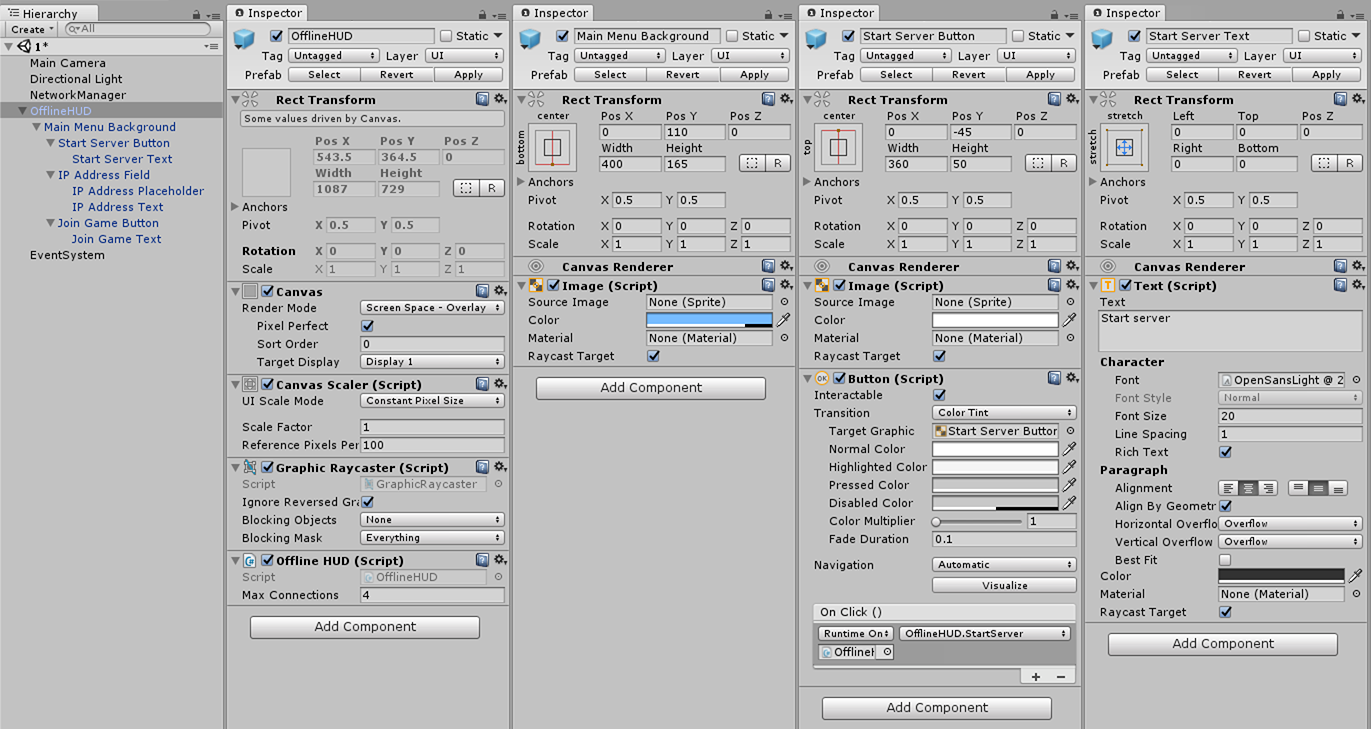
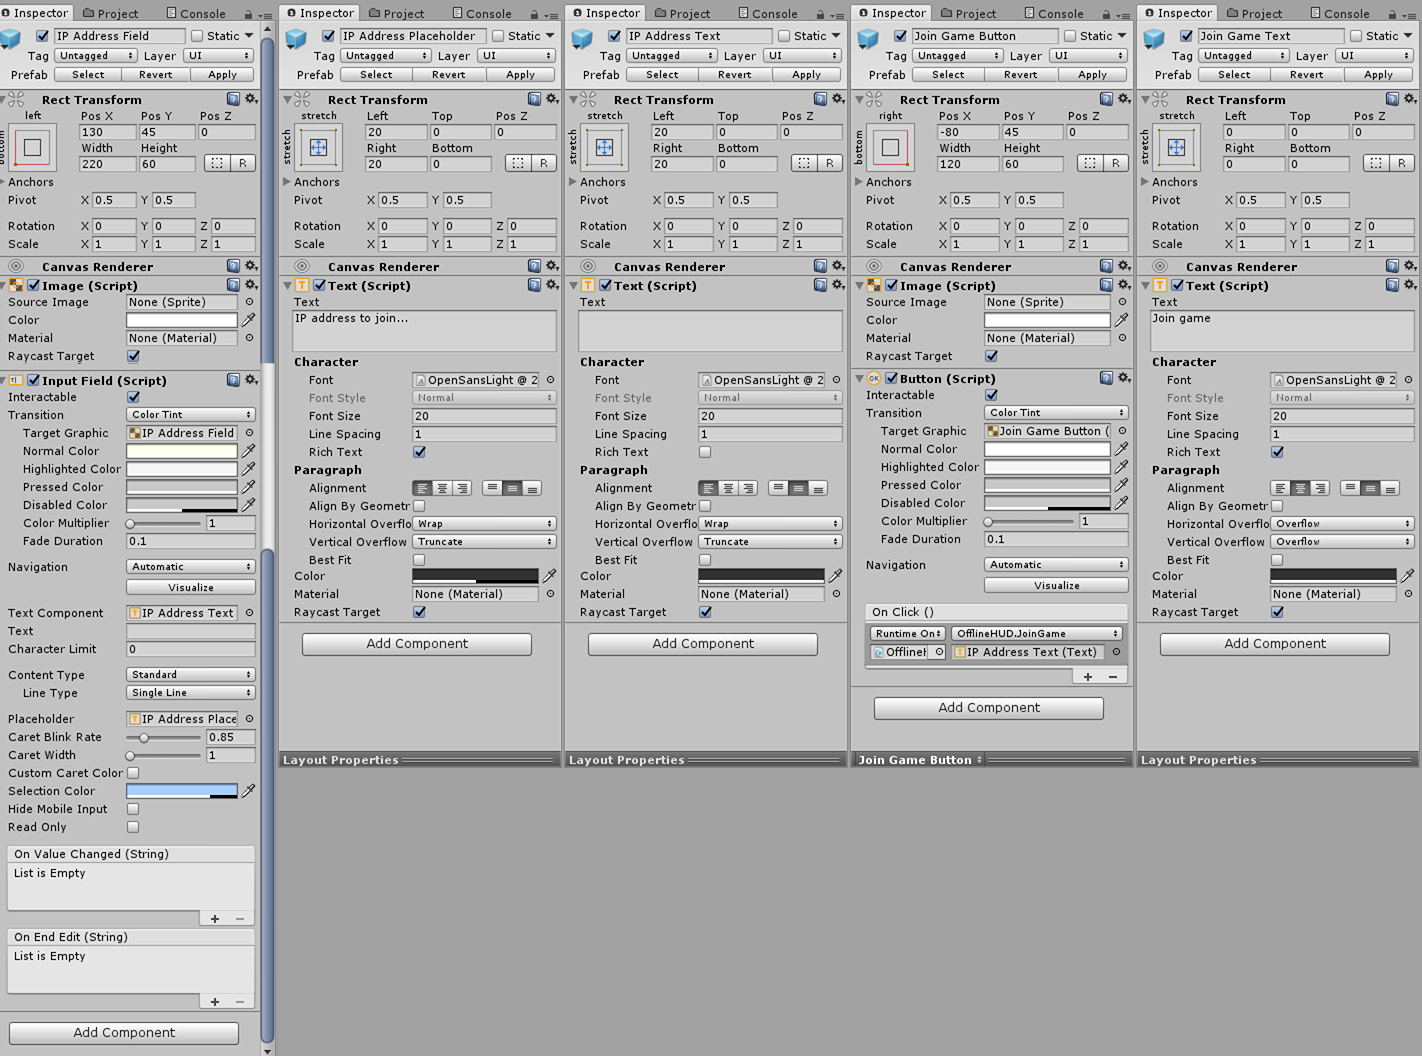
We're going to create two new HUDs in this post. The first is for when the user is offline. As we're going to be using the State manager we created last blog post, which automatically responds to the same stimuli as the NetworkManagerHUD, we can keep both that and our new code active at the same time for testing if you want. For the purpose of this post though, we're going to disable it first.
Go to your NetworkManager game object and remove the NetworkManagerHUD component. Doesn't that feel better already?
Create the following code. This is going to respond to our state changes and update the UI as required. It also handles asking the NetworkManager to create our server and client. You could probably extend the NetworkManager and do this code in there, but that would be less friendly to read in a blog post, so I haven't.
// UI/OfflineUI.cs

using Modal;
using GameState;
using UnityEngine;
using UnityEngine.Networking;
using UnityEngine.UI;

namespace UI {
    public class OfflineUI : MonoBehaviour {

        public int maxConnections = 4;

        public void Start ()
        {
            State.GetInstance().Subscribe(
                new StateOption().
                    NetworkState(State.NETWORK_CLIENT).
                    PreviousGameState(State.GAME_ONLINE).
                    GameState(State.GAME_OFFLINE),
                () => {
                    ModalManager.GetInstance().Show(
                        "Lost connection to server",
                        "Ok",
                        () => {
                            ModalManager.GetInstance().Hide();
                        }
                    );
                }
            );

            State.GetInstance().Subscribe(
                new StateOption().
                    NetworkState(State.NETWORK_CLIENT).
                    PreviousGameState(State.GAME_CONNECTING).
                    GameState(State.GAME_OFFLINE),
                () => {
                    ModalManager.GetInstance().Show(
                        "Cannot establish connection to server",
                        "Ok",
                        () => {
                            ModalManager.GetInstance().Hide();
                        }
                    );
                }
            );
        }

        public void StartServer ()
        {
            NetworkManager.singleton.networkAddress = "localhost";

            // do this manually so we can alter number of connections
            var config = new ConnectionConfig();
            config.AddChannel(QosType.ReliableSequenced);
            config.AddChannel(QosType.Unreliable);
            if (NetworkManager.singleton.StartHost(config, maxConnections) == null) {
                ModalManager.GetInstance().Show(
                    "You already have a server running on this machine",
                    "Oh, ok",
                    () => { ModalManager.GetInstance().Hide(); }
                );
            }
        }

        public void JoinGame (Text ipAddressText)
        {
            if (ipAddressText.text == "") {
                ModalManager.GetInstance().Show(
                    "You need to enter an IP address to connect to",
                    "Try again",
                    () => { ModalManager.GetInstance().Hide(); }
                );
                return;
            }

            NetworkManager.singleton.networkAddress = ipAddressText.text;
            if (NetworkManager.singleton.StartClient() == null) {
                ModalManager.GetInstance().Show(
                "Connection not attempted to " + ipAddressText.text,
                "Ok",
                () => {
                    ModalManager.GetInstance().Hide();
                }
            );
                return;
            }

            ModalManager.GetInstance().Show(
                "Attempting to join " + ipAddressText.text,
                "Cancel attempt",
                () => {
                    NetworkManager.singleton.StopClient();
                    ModalManager.GetInstance().Hide();
                }
            );
        }
    }
}
The Start() method sets up some popups that'll trigger if unexpectedly change state out of sequence. Next, StartServer() is overridden for two reasons. One, we want to control the maximum number of connections for a single game, and two, we want to catch when a server fails to start. Lastly, we override JoinGame() to show messages to the player about how a new connection's going.
We define the number of maximum, concurrent connections at the top of this code. This is actually +1, so in this case we actually allow 5 connections. When a connection cannot be established for any reason, such as the server is missing, or is just full, there is currently one popup that covers this and has the title "Cannot establish connection to server".
The online HUD
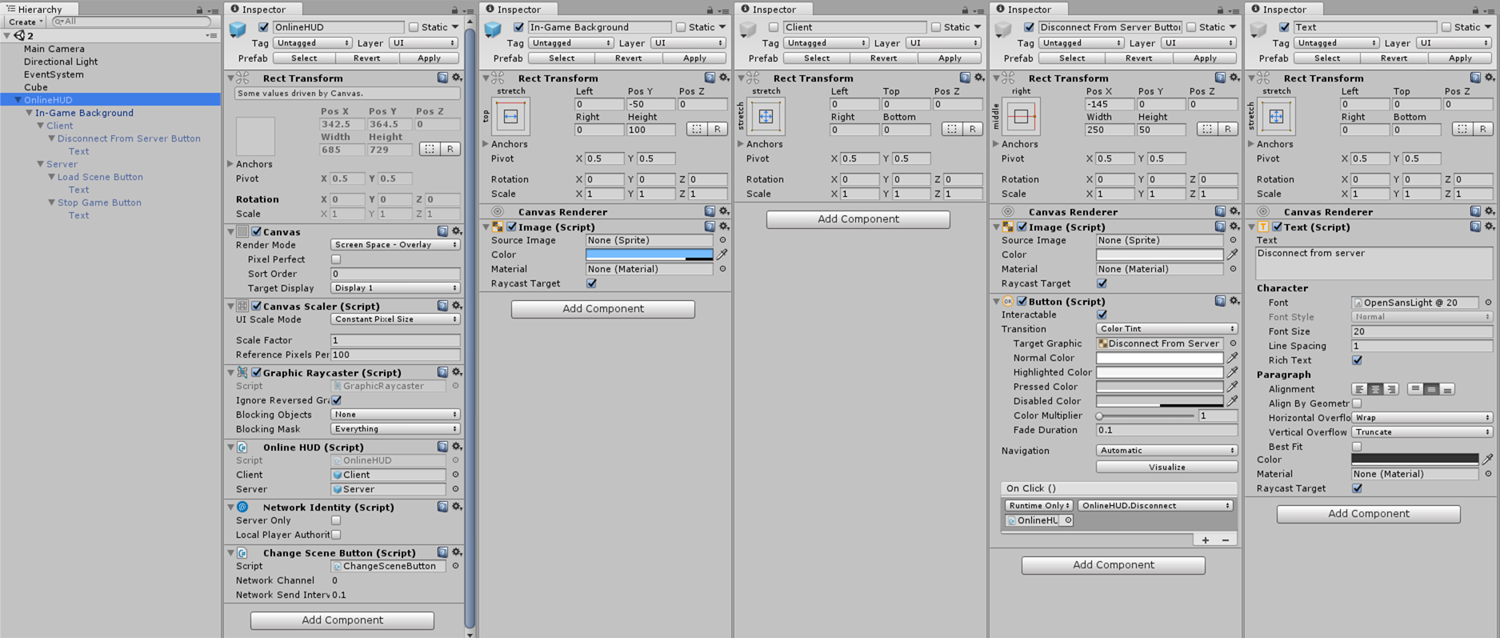
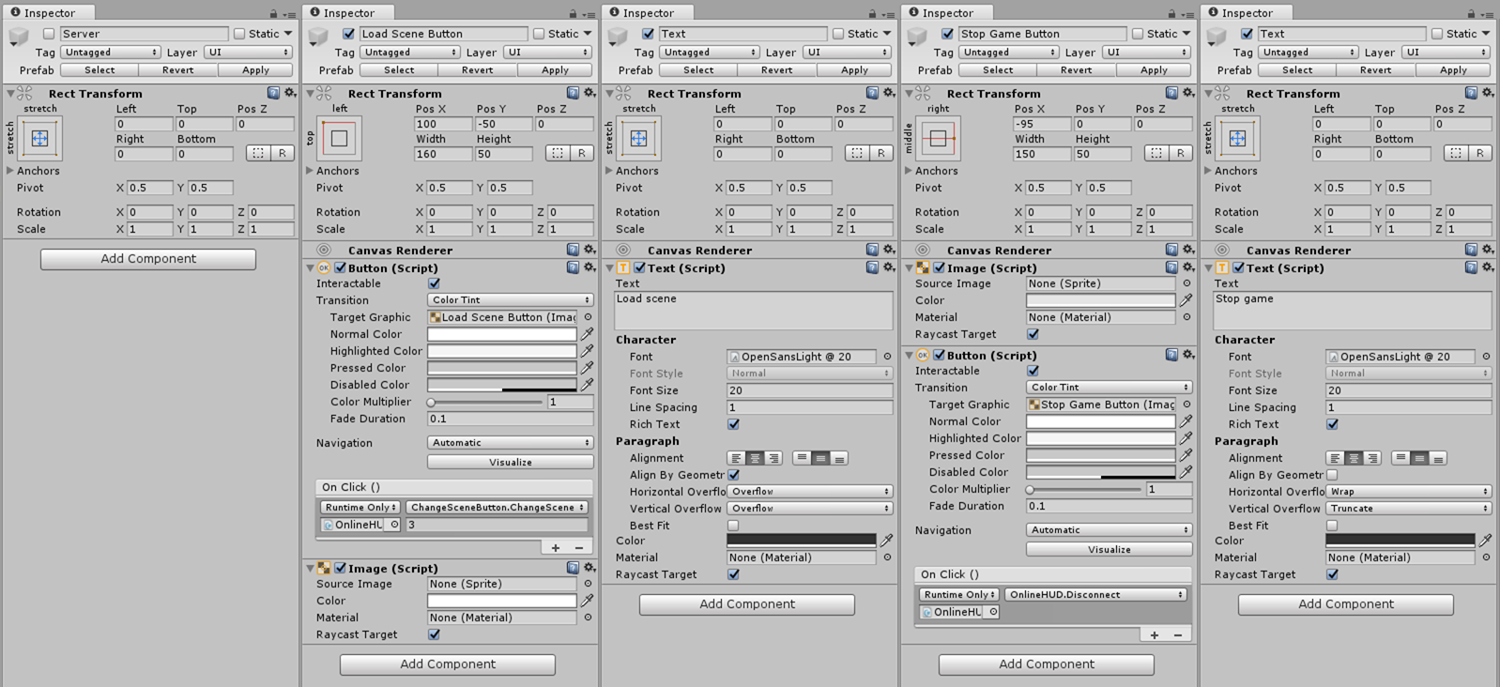
Now we're replaced the main offline HUD with something that's pretty but also allows us to start / connect to the server, it's time to replace the in-game HUD. This also handles sending a disconnect state to the state manager. The purpose of this is currently only to make sure we haven't been unexpectedly kicked off the server.
// UI/OnlineUI.cs

using GameState;
using UnityEngine;
using UnityEngine.Networking;

namespace UI {
    public class OnlineUI : MonoBehaviour {

        public GameObject client;
        public GameObject server;

        public void Awake ()
        {
            if (State.GetInstance().Network() == State.NETWORK_CLIENT) {
                client.SetActive(true);
            }
            if (State.GetInstance().Network() == State.NETWORK_SERVER) {
                server.SetActive(true);
            }
        }

        public void Disconnect ()
        {
            if (State.GetInstance().Network() == State.NETWORK_CLIENT) {
                NetworkManager.singleton.StopClient();
                State.GetInstance().Game(State.GAME_DISCONNECTING);
            }
            if (State.GetInstance().Network() == State.NETWORK_SERVER) {
                NetworkManager.singleton.StopHost();
                State.GetInstance().Game(State.GAME_DISCONNECTING);
            }
        }
    }
}
The HUD controls here are relatively simple compared to the offline ones. We use the network state to choose which HUD we're going to display, and then support how to Disconnect() each network type in the correct manner.
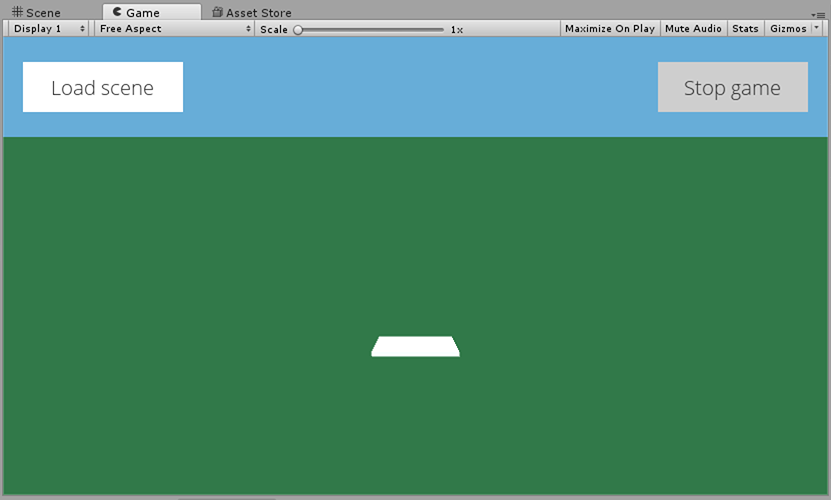
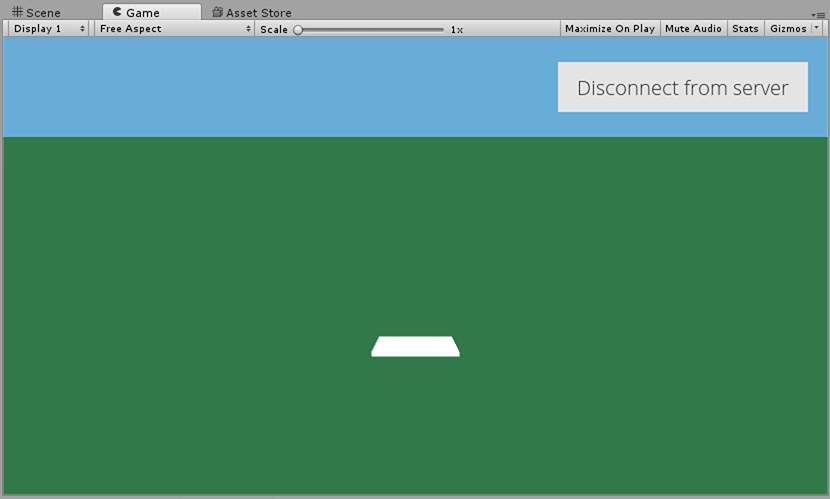
Examples of both server and client versions of the HUD is visible below. Note that we're still using the ChangeSceneButton code. This is simply due to laziness as it's probably better off being merged into the codebase above.
There we have it, finally a new UI for our client and server interactions. For the next blog we're going to look at building a Lobby scene, like it's a proper game.
You can find the code for this blog post, pre-built so you don't have to copy out everything above, at github.com/dittto/unity-multiplayer-6.